Gearbox and ball joints
Jaco van den Bergh • August 16, 2021
rc-landy 3d-printingThis is post #4 on this project, here's a list of them all.
Progress has slowed down a bit on the last few prints, as I've had to trial and error quite a bit.
The gearbox and ball joints were not as simple as the other prints up to now, and did not just work on the first try. Combine that with some silly mistakes of my own, and you get a dustbin full of misprints as a result.
Gearbox

The first obvious mistake (looking back), was to print the gears with 20% infill. Kind of blaming the build guide for that, because they did not mention anything about 100% infill for gears on that specific page.
The Gcode included for Prusa printers already have all the infill settings correctly applied, but I don't have a Prusa so I'm printing from the 20x20 build plate STL files.
So I reprinted all the gears with 100% infill, but forgot to up the scale to the 100.5% I should use (determined in post #1).
I don't have a lot of faith that the eSun PLA+ I'm using for this is going to hold up in the heat generated while driving. So while reprinting all the gears at 100% infill and 100.5% scale, I started assembling the 100% scale gears to see if it works.
These gears that are a smidge too small were already fitting quite tightly in the housing, so I decided to use them for this first attempt, and keep the 100.5% for later if needed.


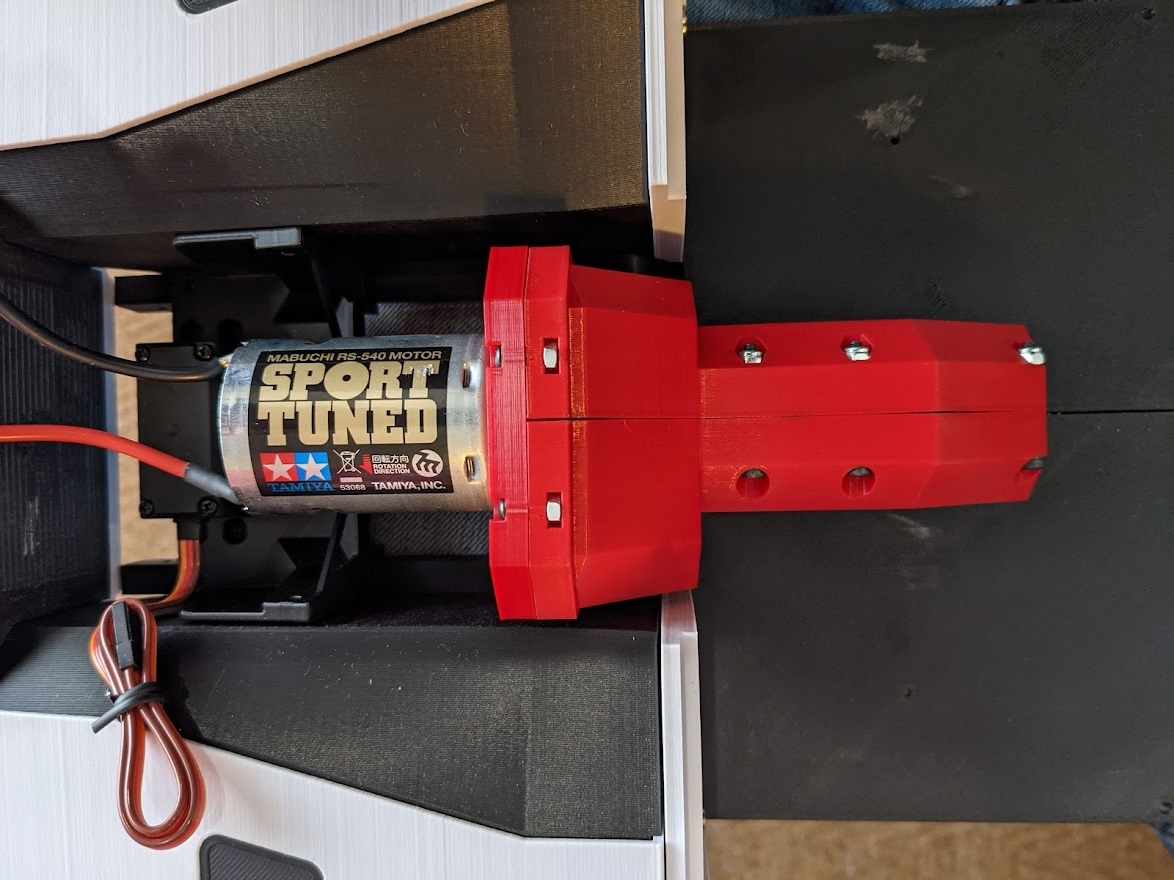
The gearbox is noisy as hell, which means lots of friction, which means heat... So will see how long it lasts, but at least it works for now.
Ball joints
I printed 3 sets of ball joints and arms to get to a working set in the end.
First was with PLA+, but printed too small... Need to really make a note about that. But regardless of size, I could not get the joints pressed together without splitting the arms.
Second was with regular PLA, where the ball joints just flattened when I tried to press them in.
Third was with PLA+ again, with the arms at 100.5% scale and the ball joints at 100%. I also learned about randomizing the z-seam in Cura, which helped prevent the arms from splitting when pressing in the ball joints.


I've now started with printing the interior of the Landy, which will take a couple of days before I can start assembly.