The printing has started
Jaco van den Bergh • July 29, 2021
rc-landy 3d-printingThis is post #2 on this project, here's a list of them all.
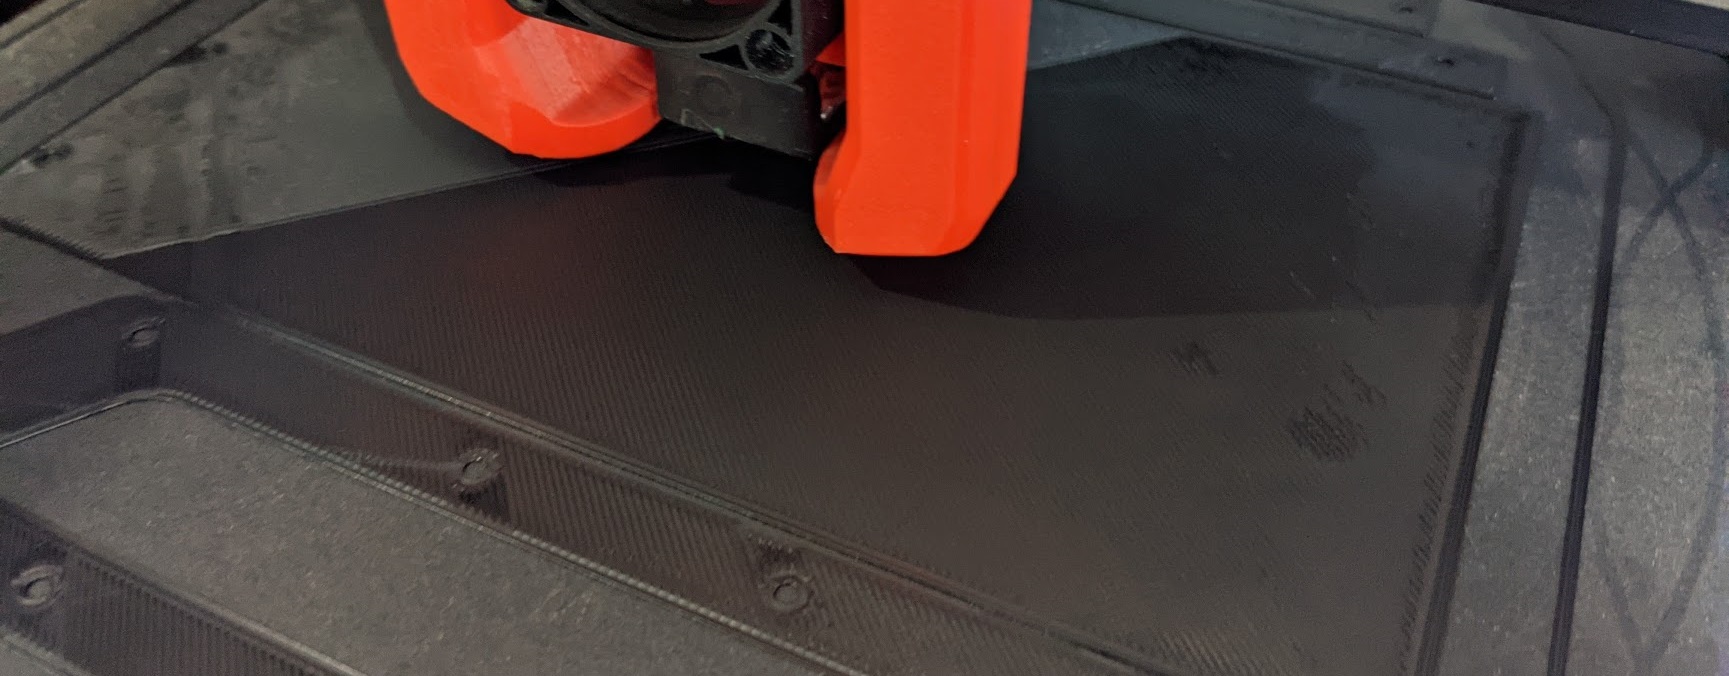
The first step in the build requires 5 plates to be printed for assembly.
They are taking about 20 hours per plate.
The Funkiments filament lived up to their reputation and was really easy to print with.
I started assembling the first parts as soon as I had them printed.


The shocks that I bought was a Tamiya kit, that required assembly. They had all sorts of configurations with spacers for different lengths and stiffness, but I managed to put 4 together in what I think will work for the Landy.

At the time of writing I still have 5% of the fourth plate, and the whole fifth one left to print.
Even though I knew the dimensions of the model beforehand, the size when starting to assemble still surprised me. It's going to be a big truck!